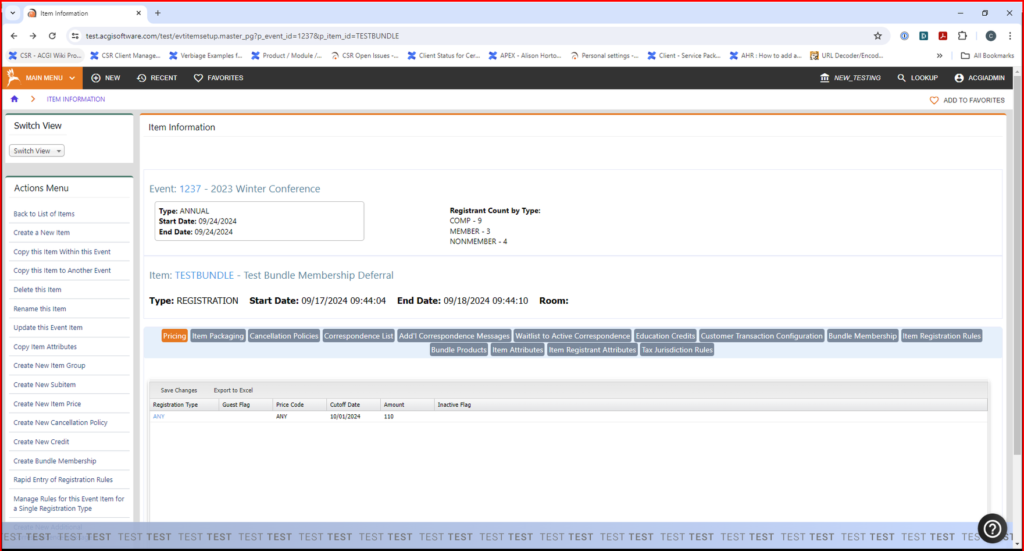
Within the Event Item Configuration, there is a Bundle Membership tab, which allows an organization to bundle a membership with the item registration.
- Go to the “Event Item” > “Bundle Membership” tab to see bundles that have been created for this item.
- Under the Actions menu, select Create Bundle Membership to add a Membership bundle to this item.

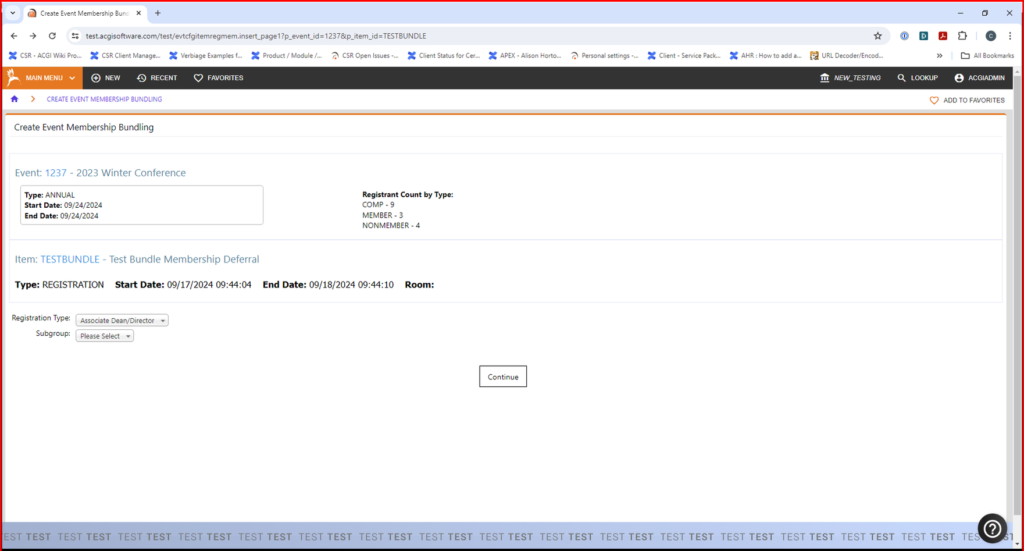
- Indicate the Registration Type this Bundle is available for, and the Subgroup, then click Continue.

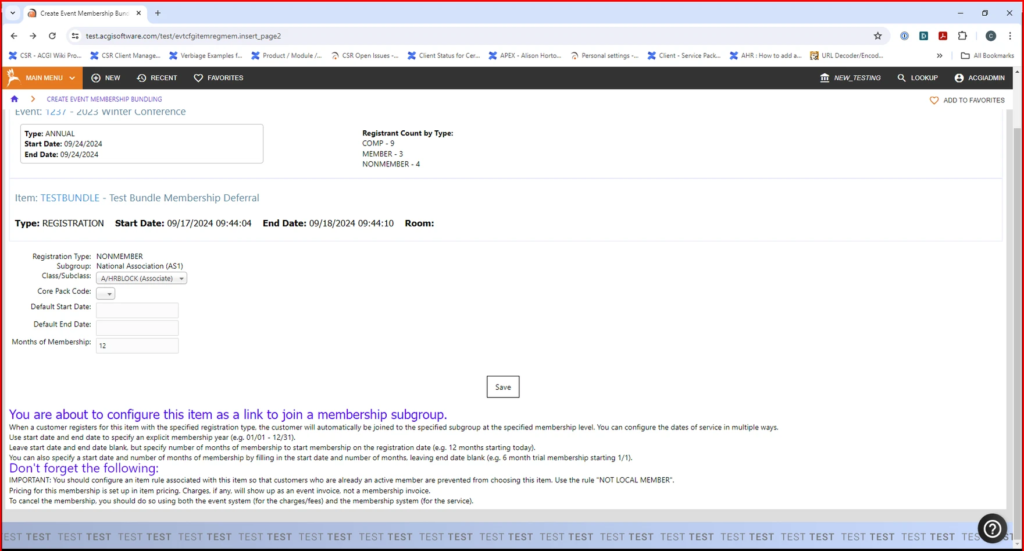
- Select the Class and Subclass combination that is being bundled.

- Select the Core Pack that is included with this membership.
- For the length of the Membership, you have four options:
- Enter a Default Start Date and Default End Date for the Membership. This allows the org to define the exact beginning and end dates of the membership period.
- Enter just a Default End Date. The start date will be the purchase date of the event item, and membership period will end on the date set.
- Enter a Start date and number of months. The start date of the membership will be the start date.
- Leave the start date and end date blank, and enter the number of months of membership the event registrant will receive. The number of months will be calculated starting with the purchase date of the event item.
- Rounding rules will be in effect if they are set.
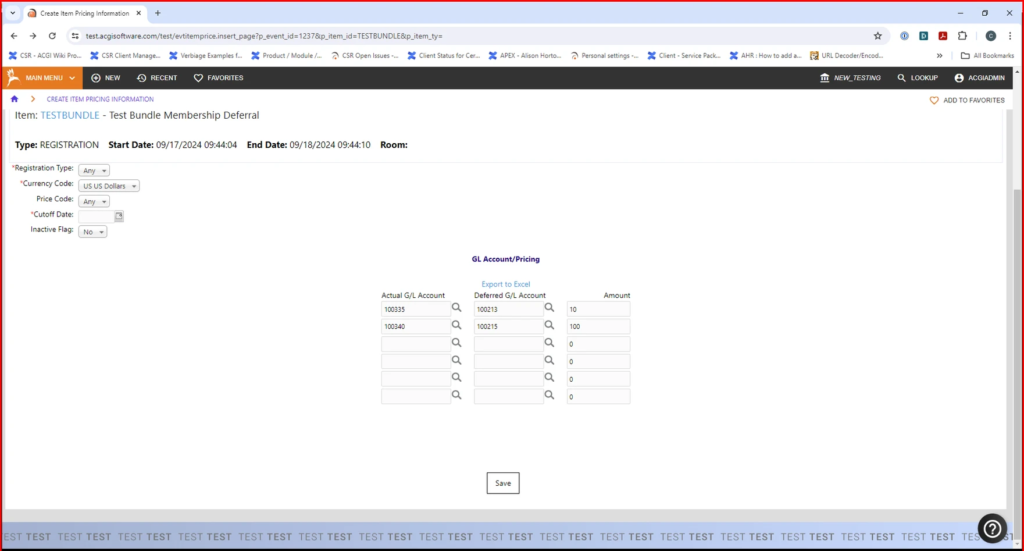
- Pricing for this membership is set up in item pricing. When you create a price for the item, you can split up the income recognition into different G/L accounts. This allows you to have a portion of the income placed in an event revenue account and a portion in a membership revenue account. Charges, if any, will show up as an event invoice, not a membership invoice.

Note: The bundled membership uses the Accounting settings that are set for the Event. When a membership is bundled with an event item, the deferral used for the membership comes from the deferral rules set on the Accounting tab for that Event.
When a customer registers for this item with the specified registration type, the customer will automatically be joined to the specified subgroup at the specified membership level.
IMPORTANT: You should configure an item rule associated with this item so that customers who are already an active member are prevented from choosing this item. Use the rule “NOT LOCAL MEMBER”.
To cancel the membership, you should do so using both the event module (for the charges/fees) and the membership module (for the service). Both can be accessed from the appropriate switchview on the customer record in back-office.

